Cellar Keeper Cellar Layout
Know the wings and corridors before you haul ten bottles the wrong way.
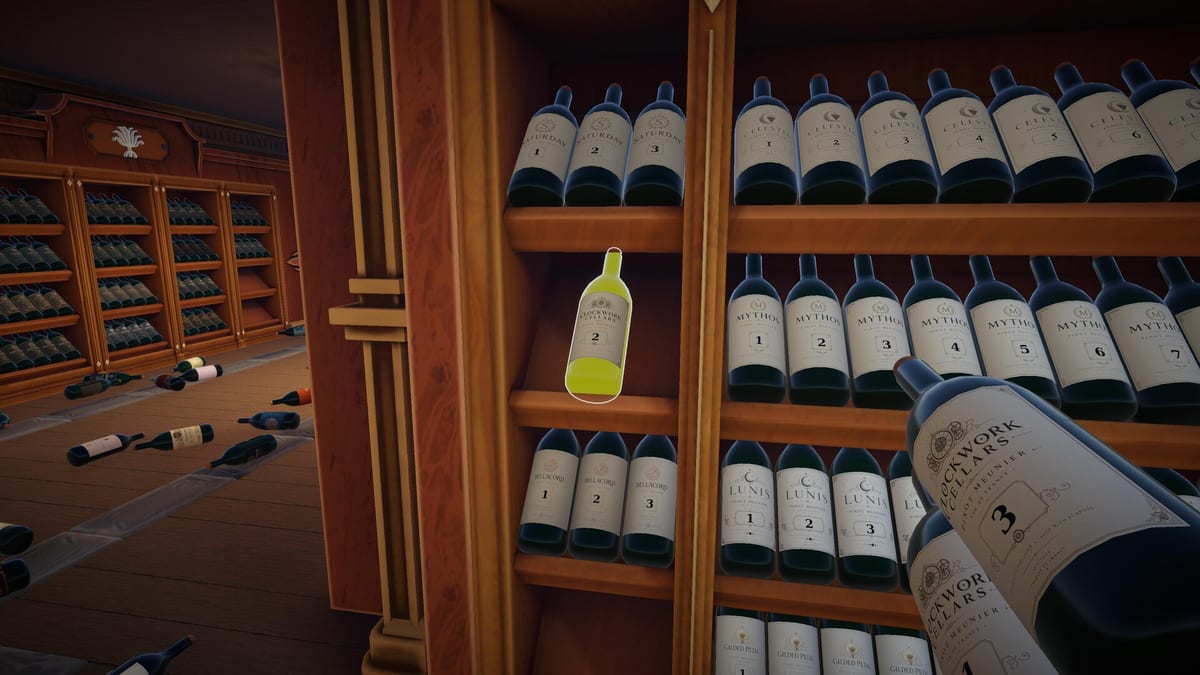
Cellar Keeper spreads 2,448 bottles across a multi-wing cellar that feels maze-like until you learn its repeating structure. The central map shows where cabinets sit relative to one another, but layout knowledge tells you which doors connect which rooms and how to chain deliveries without constant backtracking. This guide focuses on spatial navigation — the physical paths between map symbols — complementing Cabinet Symbols which decodes what those symbols mean.
EgoTrampoline designed the Steam release (August 6, 2026) as a cozy sim, not a dungeon crawler, yet poor route planning still eats hours. Layout fluency is the cheapest upgrade available because it costs zero skill points in any mode.
Central map as your anchor
Keep the central map accessible whenever you enter an unfamiliar wing. Pan across nodes, note symbol clusters, and mark mentally which corridors lead toward your target wine type cabinet. The map does not replace walking — it orients you before movement.
Each symbol corresponds to a wine type destination, not a brand. Confirm the second label line on every bottle in your carry batch before committing to a path. Misaligned type batches cause gray feedback at arrival regardless of how efficiently you walked.
Room types and flow patterns
Most keepers describe the cellar in four practical zones:
Entry and staging piles. Near spawn or early rooms, bottles accumulate in unsorted heaps. These rooms reward Spot Matches and Batch Grab pickups before long walks.
Transition corridors. Narrow halls connect wings. They rarely hold cabinets but often cause detours if you pick the wrong fork. Learn one reliable route per wing rather than exploring every branch during Speedrun attempts.
Cabinet chambers. Rooms with rack clusters tied to map symbols. This is where Sorting Rules apply: wine type first, brand shelf second, series third.
Late-cellar depth. Far wings host dense brand collections and tighter shelf spacing. Plan ten-bottle batches carefully — partial deliveries here mean long return trips.
Exact room names vary by player description; use the map nodes as ground truth when prose labels differ.
Planning ten-bottle delivery routes
Your carry cap is ten bottles. Efficient layout use means:
- Pick up a single wine type batch near staging piles.
- Open the map and identify the target symbol cluster.
- Choose a corridor chain with the fewest door transitions.
- Deliver all ten before returning for a different wine type.
- Inside the cabinet room, subdivide by brand before first shelf lock-in.
Mixing types in one trip doubles walking if cabinets sit in opposite wings. Mixing brands without shelf planning causes gray flashes even when the wing is correct.
Sprint and Jump shorten known routes in Cozy Mode. They do not fix wrong-wing departures — map check first, sprint second.
Choke points and backtracking
Choke points appear where multiple wings funnel through one corridor. During heavy sorting sessions, these halls clog your mental map because bottles on the ground obscure sight lines. Mark choke rooms as “transition only” — do not pick up random bottles there unless Spot Matches confirms they belong ahead on your current route.
When you must backtrack, empty carry slots first. Walking halfway across the cellar with eight wrong-type bottles wastes more time than two empty round trips.
Layout and mode strategy
Cozy Mode encourages exploratory walking while unlocking skills. Use early hours to map corridor forks manually.
Speedrun Mode rewards memorized shortest paths between high-volume cabinets. Sketch personal route notes or use Tools if allowed by your run rules.
Hardcore Mode punishes rushed movement in tight stairs or near ledges where bottles can break. Prefer safer wide paths even if slightly longer.
Full mode comparisons live on the Modes hub and in Cozy Mode, Speedrun Mode, and Hardcore Mode.
Pairing layout with labels and symbols
Workflow integration:
| Step | Resource |
|---|---|
| Read wine type | Types and Brands |
| Match map icon | Cabinet Symbols |
| Walk efficiently | This layout guide |
| Place on shelves | Sorting Rules |
| Order within brand | Series Numbers |
How to Organize Bottles from the Guides hub demonstrates combined map and layout usage in real sessions.
Advanced navigation habits
Anchor rooms. Pick one familiar cabinet chamber as a hub and sort outward. Return to the hub map node between batches to reset orientation.
Symbol clustering. Multiple symbols of related wine types sometimes appear adjacent on the map — batch types that share a wing in one trip if carry slots allow (same type only for placement).
Achievement routing. Late-game achievements such as efficiency tiers benefit from layout memorization. Track goals on Achievements.
Controls while navigating
Map panning and movement bindings differ between input devices. Read Keyboard and Mouse and Controller on the Controls hub. Steam lists full controller support for Cellar Keeper; layout learning applies equally to both input methods.
Related pages
Return to the Map hub. Symbol reference: Cabinet Symbols. Bottle rules: Bottles hub. Skills: Skills hub. Overview: Review and Wiki home.
Frequently Asked Questions
Quick answers to the most common questions.
How do I avoid getting lost in the cellar?
Keep the central map open, match **wine type** symbols before walking, and learn one fixed route per wing instead of random exploration.
Should I explore every corridor in Cozy Mode?
Early exploration helps. Once symbols are familiar, stick to planned ten-bottle routes to reduce backtracking.
Does cellar layout change between game modes?
The physical layout and map are identical across Cozy, Speedrun, and Hardcore. Only rules and upgrades differ.
What should I read alongside this layout guide?
[Cabinet Symbols](/map/cabinet-symbols/) for icon meanings and [Sorting Rules](/bottles/sorting-rules/) for shelf placement after you arrive.